Blog Archives
More on Constructing the Mushroom Arch: Part 4
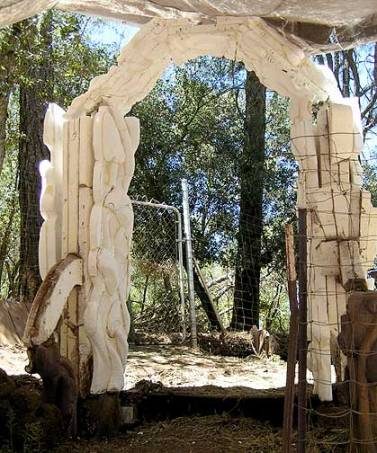
Weeks have past. The upright sections of the arch have been roughed out but the details have yet to be carved.
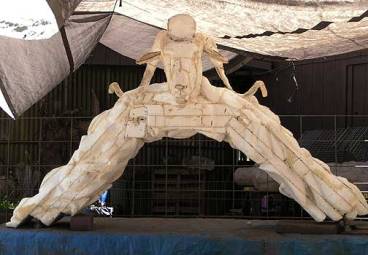
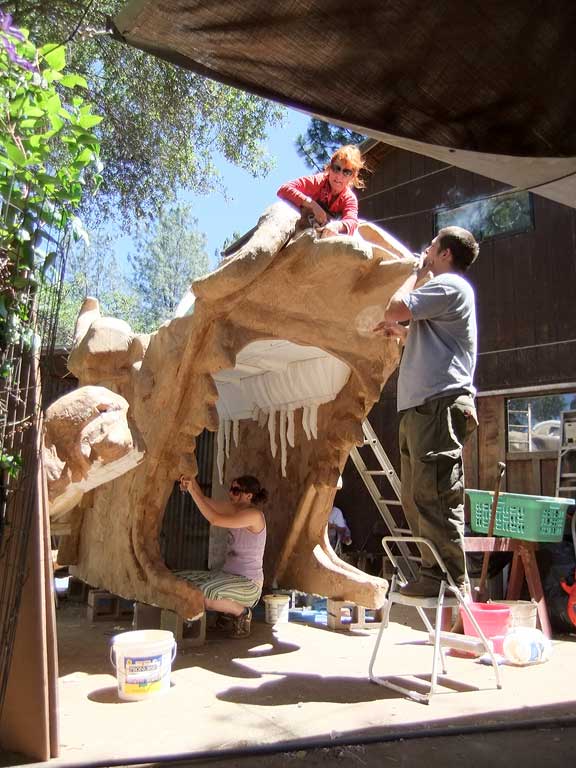
To get an overall view of the arch, the Styrofoam sections were temporary tacked together before the goat’s head was secured in place.
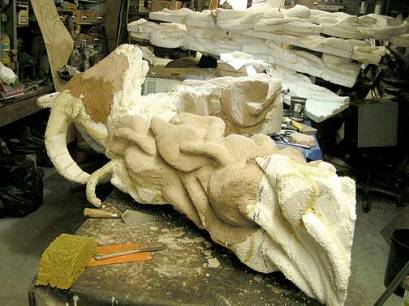
The carving on the top section of the arch has been completed in Styrofoam. But there have been delays.
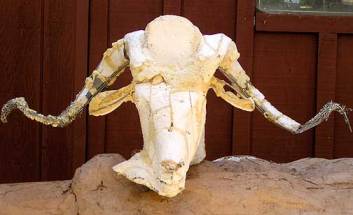
I was busy watering the goats on the evening before I was to begin the cement work the following day. As I walked by the top section of the arch standing on the work table, I saw right away there was something wrong. I did not like the transition from the sides into the horizontal portion of the arch. It was too angular. In the twilight the goats head looked like a football player; one of the Rams to be exact. I had secured the horns about three inches above the armature and when I filled in that space with Styrofoam it looked like athletic shoulder padding.
So the next day I dragged the work back into the shop and spent a week revising the top section of the arch. I dug out the metal straps that secured the horns to the armature and lowered the horns about two inches. I also sculpted new mushrooms around the area where the horn touch the arch.
Cementing the arch is running into more problems and the completion of this project by the end of summer is fading fast. The first layer of cement was being applied in the middle of a heat wave when the troubles began. Even though the cementing was taking place inside the shop where was only 80°F, the cement was setting up much faster than normal.
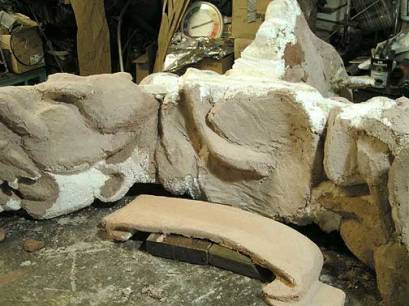
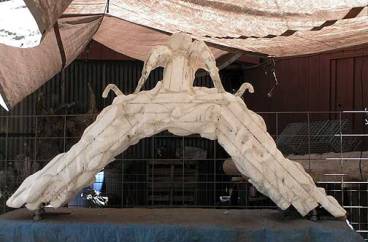
View of underside of the arch including the “ribbon” which will hold the text. The “ribbon” will be secured under the goat head.
This project is stalled out until I solve what is happening to the cement. I do not want to put hundreds of hours into this construction only to have it crumble within a few years. I have had problems with Quikrete products before. I hope this is not going to be one of them.
Building the Mushroom Wedding Arch: Part 2
It is June 21, 2013, the Summer Solstice
I am continuing with the saga of building
the Mushroom Wedding Arch
Do or Die!
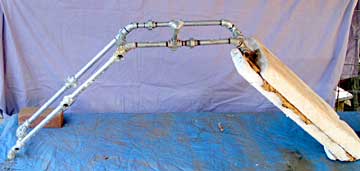
After calculating another $120 of pipe and fittings to run a parallel armature six inches along side of the original armature, I cannibalized most of the materials from other uncompleted projects. I am using ½ inch galvanized pipe and fittings. The purpose of this addition to the armature is to remove the slight motion I am getting from right to left with the original single pipe structure. The first step was to remove the cross-section or top of the arch.
I had to cut away most of the foam and attach the parallel pipe and fittings to the cross-section of the armature. This cross-section of the arch is the portion of the sculpture I am going to work on the ground and then attach it to the uprights when it is completed.
The 1/2 inch pipes will serve in lieu of a capstone but the decorative capstone at the top of the arch will be a male San Clemente goat’s head with a solar disk between his horns.
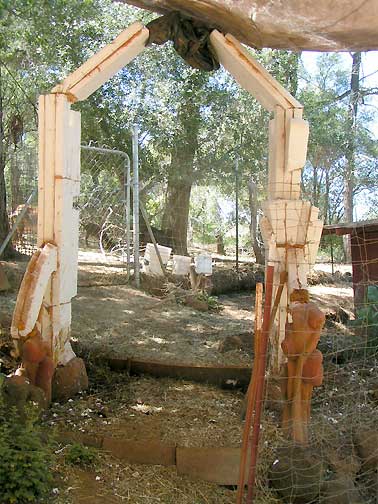
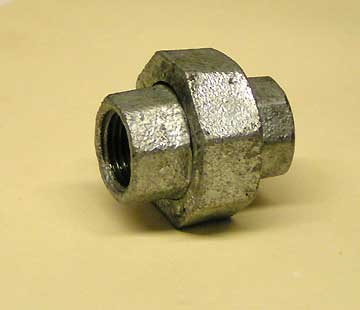
The parallel pipe and fittings are connected to the two upright sections and cemented in place below the ground. The two parallel armatures are connected with “union” fittings as shown in Part 1.
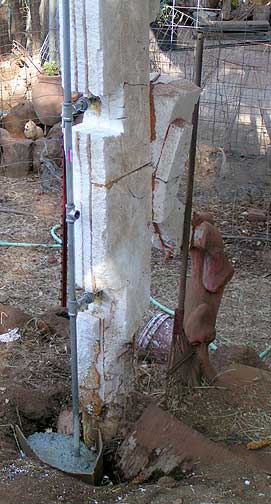
The back side of the right upright portion of the sculpture. The parallel pipe is attach with union connectors and cemented in the ground.
This whole thing looks pretty messy and not very beautiful. But this is the guts of the sculpture. There is one rule to sculpting in cement. There must be no movement in the armature. Cement has many properties, weather resistance, hardness, durability. But cement has no give or tensile strength. and any movement in the armature will cause the cement to crack in ways that cannot be easily repaired. So get it right the first time no matter what it takes or suffer the losses.
By the way comments and questions are welcome on this blog, especially from my students and former students.
Building the Mushroom Wedding Arch: Part I
It is time to get going on the summer sculpture projects.
After all this is an art center in development and I should be posting about the art.
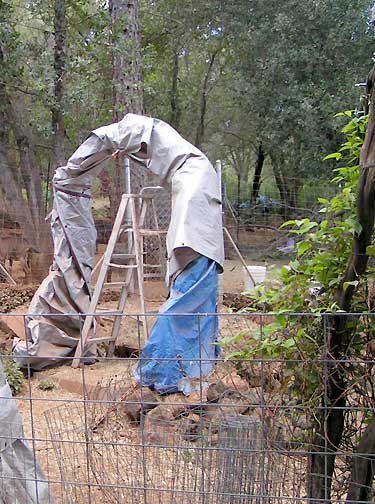
This summer I plan to complete the Mushroom Wedding Arch. I began this project three years ago and each winter I have wrapped the uncompleted work in plastic tarps to protect the armature from rust.
I have held back completing it for two reasons. First, I could not figure out how to apply the cement to the underside of the arch in a safe and comfortable manner. The process takes a considerable amount of time and I do not have sufficient scaffolding to do it right. Second, I was never satisfied with the armature. There was just too much sway toward the top of the arch and I was concerned that this give would create structural cracks in the cement.
But one night last winter it came to me just how I could solve both problems. What I needed to do was to redesign the armature so that there are two parallel steel pipes connected with cross pipes like a ladder going up the sides of the arch. Since I built the armature out of ½ inch galvanized steel pipe I can take advantage of the fact that it is screwed together. I can design the top of the arch so that I can work on it on the ground and install it in place after it is completed. Ah the beauty of the union coupling! These little babies are going to save this project.
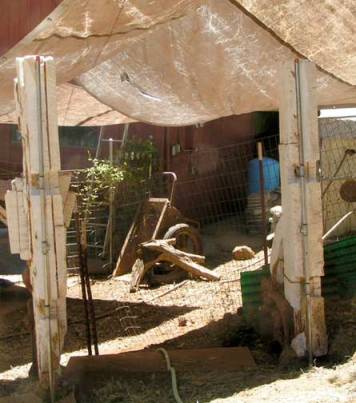
The first thing I did was to string up a tarp so that I could work in the shade. I worked beneath the raucous cries of an indignant raven feeling threatened by the flapping tarp.
The next thing I did was to cut into the Styrofoam and locate the old armature constructed out of single pipe running up the sides and across the top of the arch.
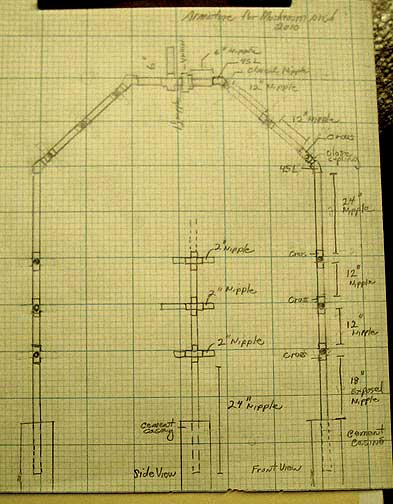
Two years ago I was concerned about the Styrofoam rotating around the pipe and I redid the armature by placing a series of lateral pipes along the vertical structure to keep the Styrofoam from moving. Lucky for me I drew a diagram so I knew where those lateral pipes were inside the foam.
I was going after these joints because this is how I can attach the second parallel pipe to the first one.
More on this later after I calculate how many “tees”, “unions” and “nipples” I am going to need.
Notice of Summer Workshops at PsiKeep
SCULPTING IN SURFACE BONDING CEMENT
Students create and develop their own project
in this 2 day intensive workshop.
You can work 8 hours /day plus potluck on Saturday night.
Need a minimum of 4 students to bring cost down to $100 /student+ materials.
MOLD MAKING THREE DIMENSIONAL CEMENT TILES
Anything that has a flat side that can be set in cement is a tile!
Student learn how to construct one part latex molds in this 2 day intensive workshop.
You can work 8 hours /day plus potluck on Saturday night.
Need a minimum of 4 students to bring cost down to $100 /student+materials.
ADVANCE WORKSHOP IN SCULPTING A LARGE SCULPTURE IN CEMENT
Apprentice for two days at PsiKeep Center for the Arts
constructing a large sculpture on the property
Dates to be set.
Tentative dates are for mid July and early August.
email: lorenwolf@myway.com
___________________________________________________
Also offering a class in
CREATING GARDEN SCULPTURE IN CEMENT
at Santa Rosa Junior College, Santa Rosa , California
June 20, 6:00 – 9:00 p.m. – Orientation meeting
3 Saturdays June 29 – July 20 10:00- 3:00 – Workshops
Offered at Santa Rosa Junior College through the Community Education program
Call (707) 527-4342
Course # 9493
